Scenario
Recently a customer has asked me to set up their intranet webpage as an app in Microsoft Teams. They have spoken with the developer (Iris Intranet) and they were told that they can set up the intranet as an app in Teams. This customer is using Teams as their main portal for everything. Therefore, it is necessary to add the intranet as an app in Teams.
You see this a lot with customers, that they use an intranet page for internal communication, but with the hybrid work era the intranet is not used as much anymore. So, one of the solutions is to add the intranet as an app in Teams.
One of the things that came up is that the Single Sign-On is not working properly in Teams. We can fix this with an app registration in Azure AD. Azure AD provides access to your tab app based on the app user’s Teams identity. You will need to register your tab app with Azure AD so that the app user who has signed into Teams can be given access to your tab app.
In this blog I will tell you more about that and how it can be set up.
The first thing we need to check is if custom apps are allowed in Microsoft Teams, if not, we may not use this. We can check these settings in the Teams admin center, under App permission policies.
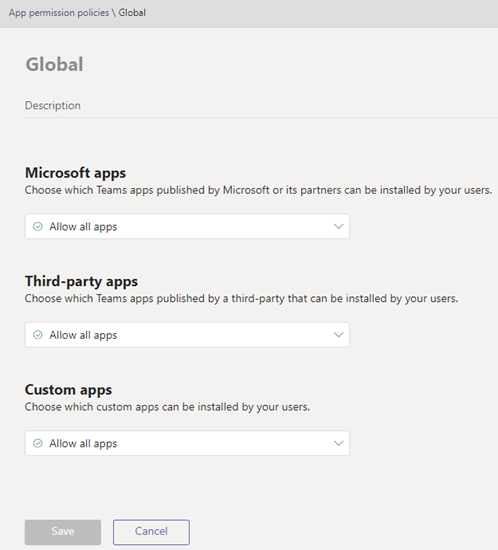
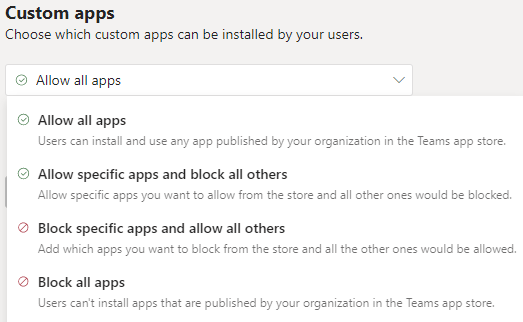
In my case all apps are allowed. It is also possible to allow a specific app instead of all apps (you must upload the app first, before you can set this).
If you have set this up correct, we can start registering an app registration (if your intranet provider is supporting this 😊, which Iris Intranet is).
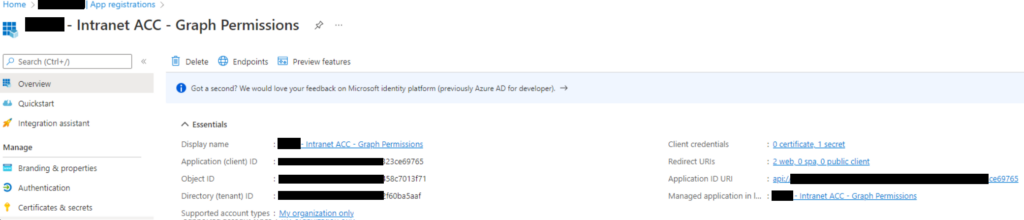
After you have registered your app you have to setup the API permissions for Microsoft Graph to read and write different settings. Your intranet provider can help you with the correct settings.
After this, we will start enabling SSO for the app registration. We will have to go to our app registration and click on Expose an API.
Before we can set up a scope, we need to set the application ID URI.
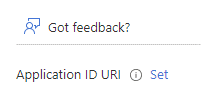
Click on set to generate an URI
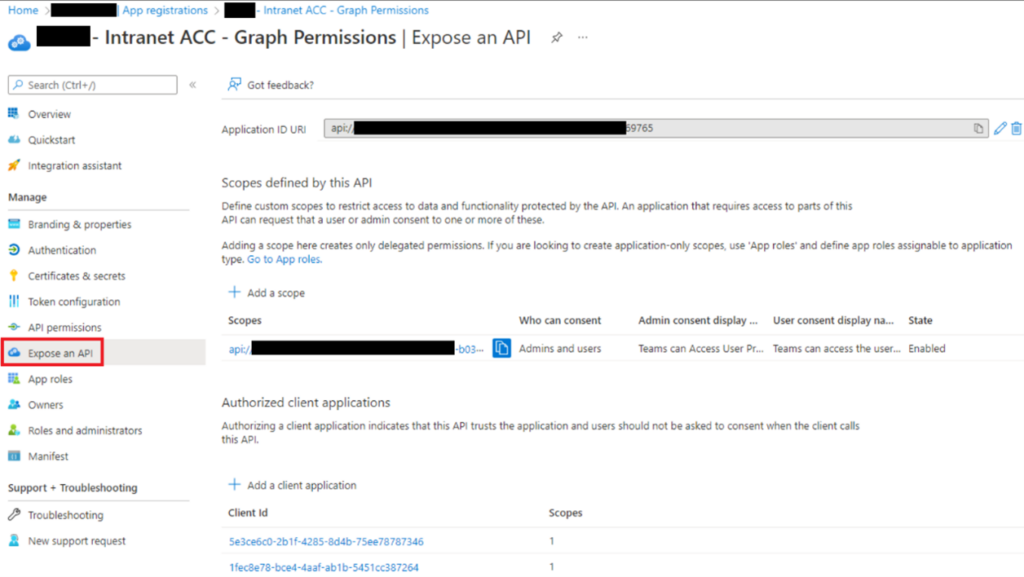
Write down this Application ID URI, because later when we create the app in Teams, we need this.
After we have created an URI, we need to add a scope. In this case, we set the scope to admins and users. Insert the fully-qualified-domain-name.com between api:// and {AppID} (which is, GUID). For example, api://example.com/{AppID}.

So now we have set an URI and the scope. Now we need to add the authorized clients. In our case we want Microsoft Teams as the client. The ID’s can be found on the website of Microsoft
| Use client ID | For authorizing… |
| 1fec8e78-bce4-4aaf-ab1b-5451cc387264 | Teams mobile or desktop application |
| 5e3ce6c0-2b1f-4285-8d4b-75ee78787346 | Teams web application |
Select the application ID URI you created for your app in Authorized scopes to add the scope to the web API you exposed.

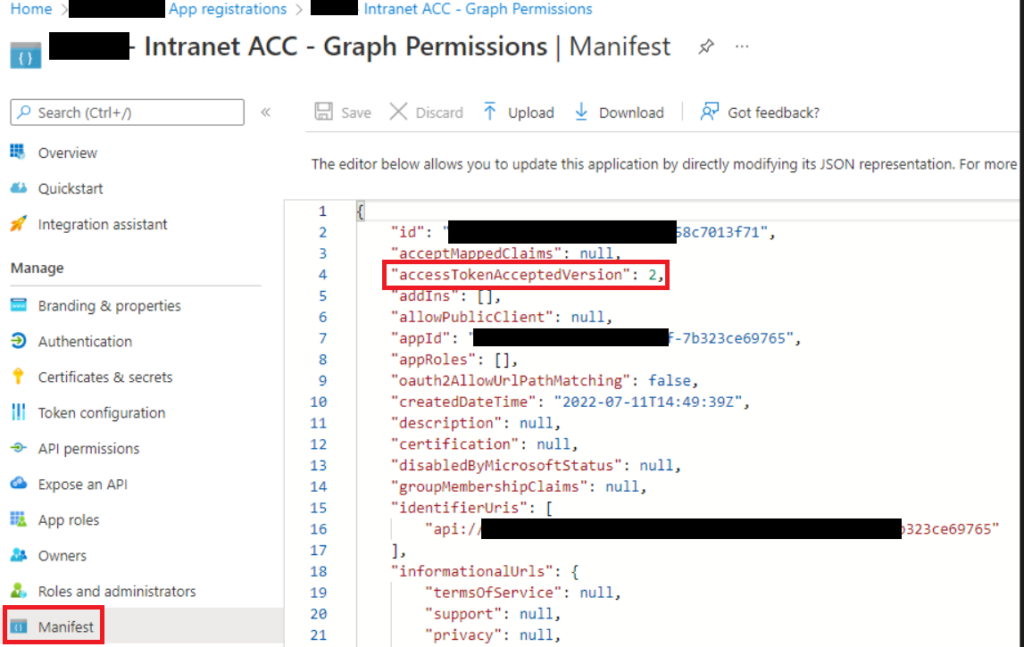
The last thing you must do is configure an access token version which is acceptable for your app. Click on Manifest in the app registration and change the null after accessTokenAcceptedVersion to 2.
Now we are done in Azure AD, and we will start creating the app in Teams.
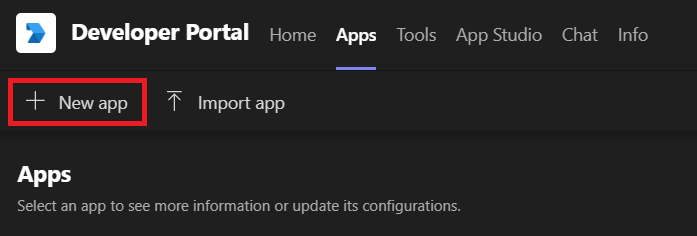
First, we need to add the Developer Portal in Teams. Search for Developer Portal in Teams apps.

After we added the Developer Portal in Teams, we open de app and click on New App

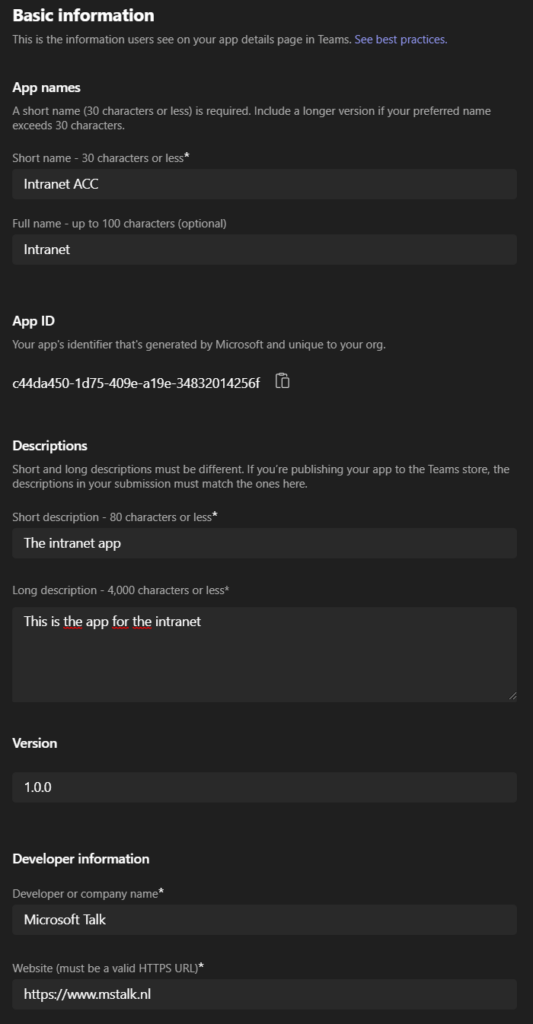
After we have added the app, we can start filling in the information needed. All the information where an asteriks (*) is indicated is mandatory. The fields that need to be filled in are the following:
- Short name
- Short description
- Long description
- Version (this is not marked with a star, but when you update the app mandatory)
- Developer or company name
- Website
- Privacy policy
- Terms of Use
- Application (client) ID (this is the app URI which we created in Azure AD)
After we have filled in the basic information, we can add some branding to make the app look nice in Teams (this is not mandatory).
Now we need to add the URL for the intranet. First click on App features and then click on Personal app.
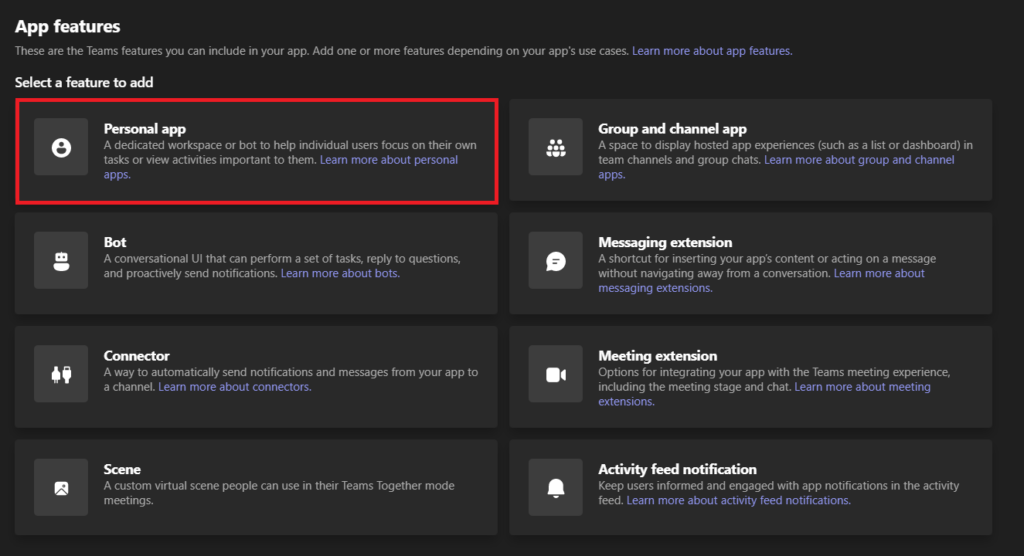

The website URL is the little globe in the app so they can open the tab in a browser (we filled the same URL in there).
Now the last thing we need to do is to set up the SSO in the app. Therefore, we click on Single Sign-On.
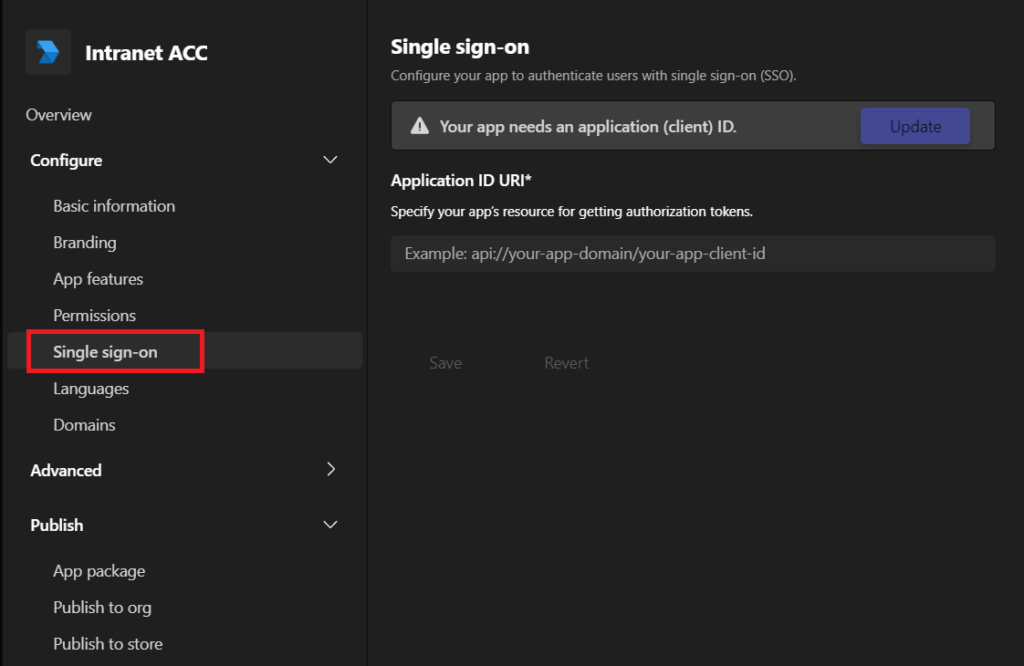
We need to copy our Application ID URI, which we have created before in the Azure AD.
Now we are done with creating the app and we want to publish it. You can choose between three options; App package, Publish to org, or Publish to store. If this is an internal app, we will choose Publish to org.
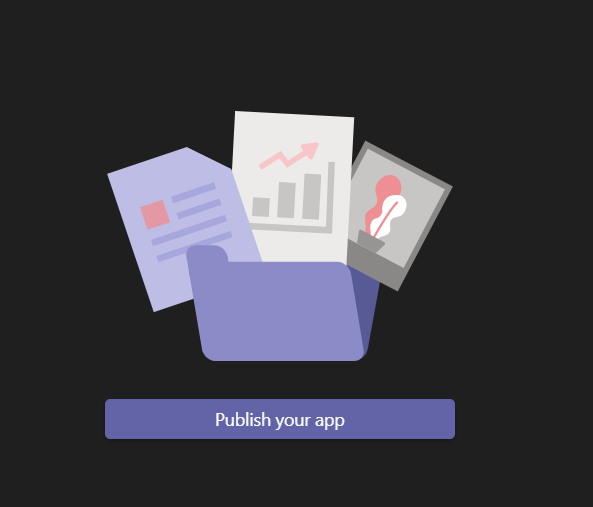
Click on Publish your app.
After we published the app, we need to grant consent for some permissions.

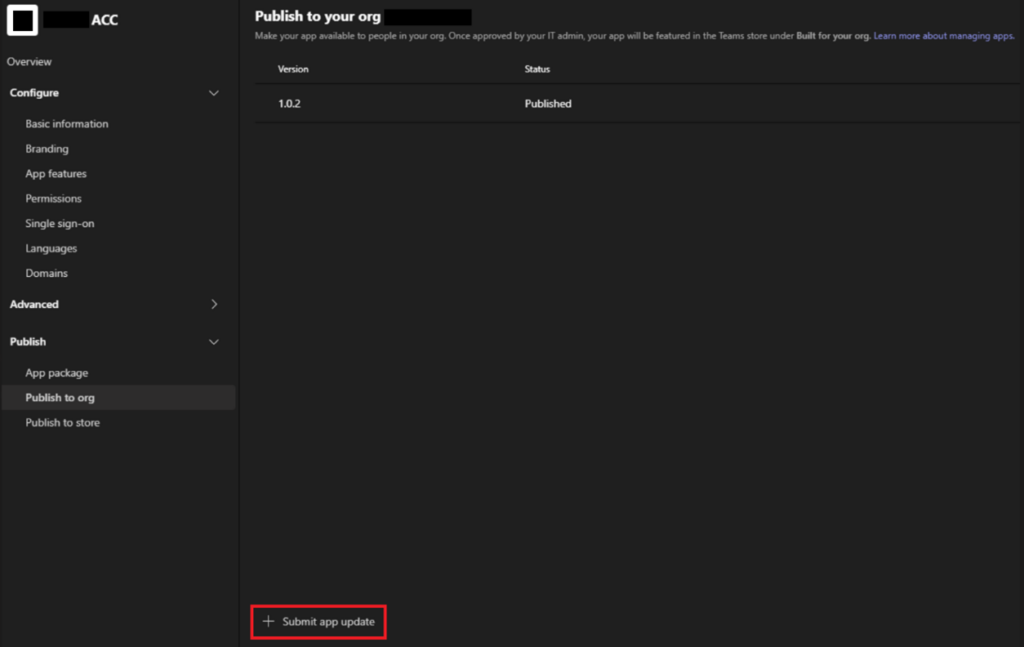
I have made an update to the app, so you can see what happens in Microsoft Teams admin center.
Go to Teams admin center and you will see that there is an updated custom app.
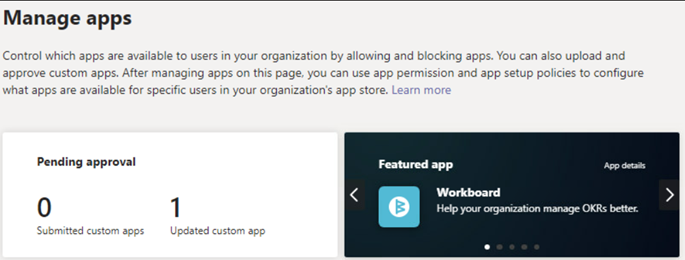
Search for your app and open the details page.

We can now accept the update.

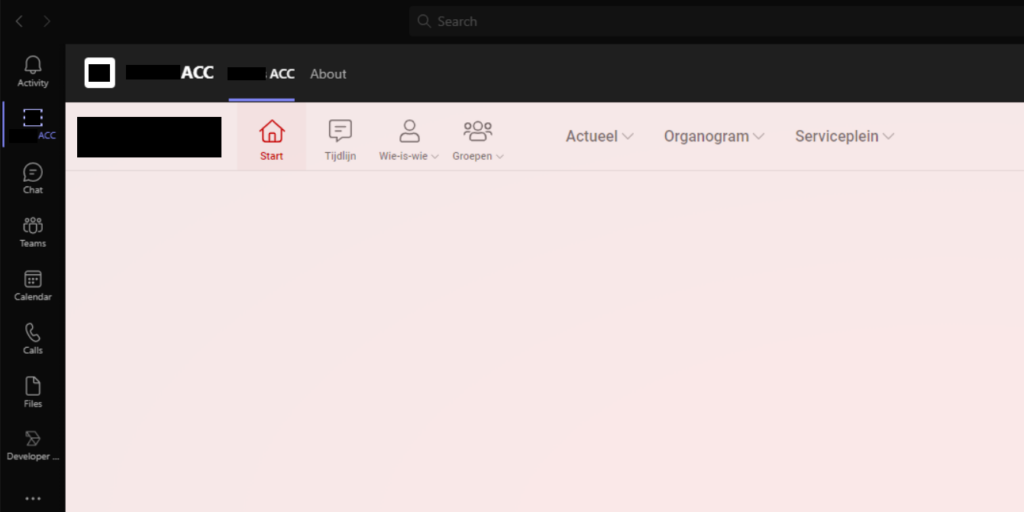
Now we can search for the app in Teams and add the app to our bar on the left.
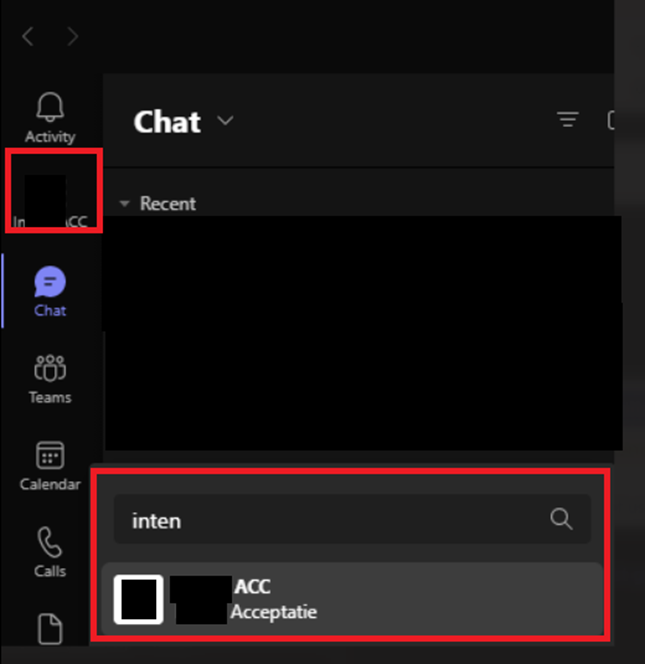
And now we can use our intranet within Microsoft Teams!
If you want to see more about features in teams, see my other blog posts here